Holiday Gift Wrapping: How To
If anyone knows me in person, you know I’m all about everything being cohesive and visually beautiful - you especially know this if you follow me on Instagram. Well, the same goes for my Christmas decor (that blog post is coming soon!), and as far as I’m concerned, the gifts under the tree are just as much decor as the rest of it.
I’m a firm believer that the wrapping of your gifts is just as important as the actual gift itself - a nicely wrapped present tells the person you’re giving to that they are important and that you care enough to take the time to wrap your gift to them. Of course, receiving any gift at all is more than wonderful, but when you add the extra details, it just makes the experience truly that much more magical - and isn’t that what Christmas is all about? I know gift wrapping isn’t something that most people find to be the easiest, so I’m going to show you how I like to add a little something to my holiday gifts.
Ribbons & Bows

Of course, before we get started, we have to make sure our presents are all bundled up in some beautiful wrapping paper (which I love to match with my decor so it looks extra good sitting under the tree)! If you’ve never had to wrap your gifts before, or you’re just generally not very good at wrapping (Me - I always either have way too much or way too little wrapping paper), I’d recommend watching this tutorial. Once you’ve got your present all wrapped up, then we get to move onto the fun part!
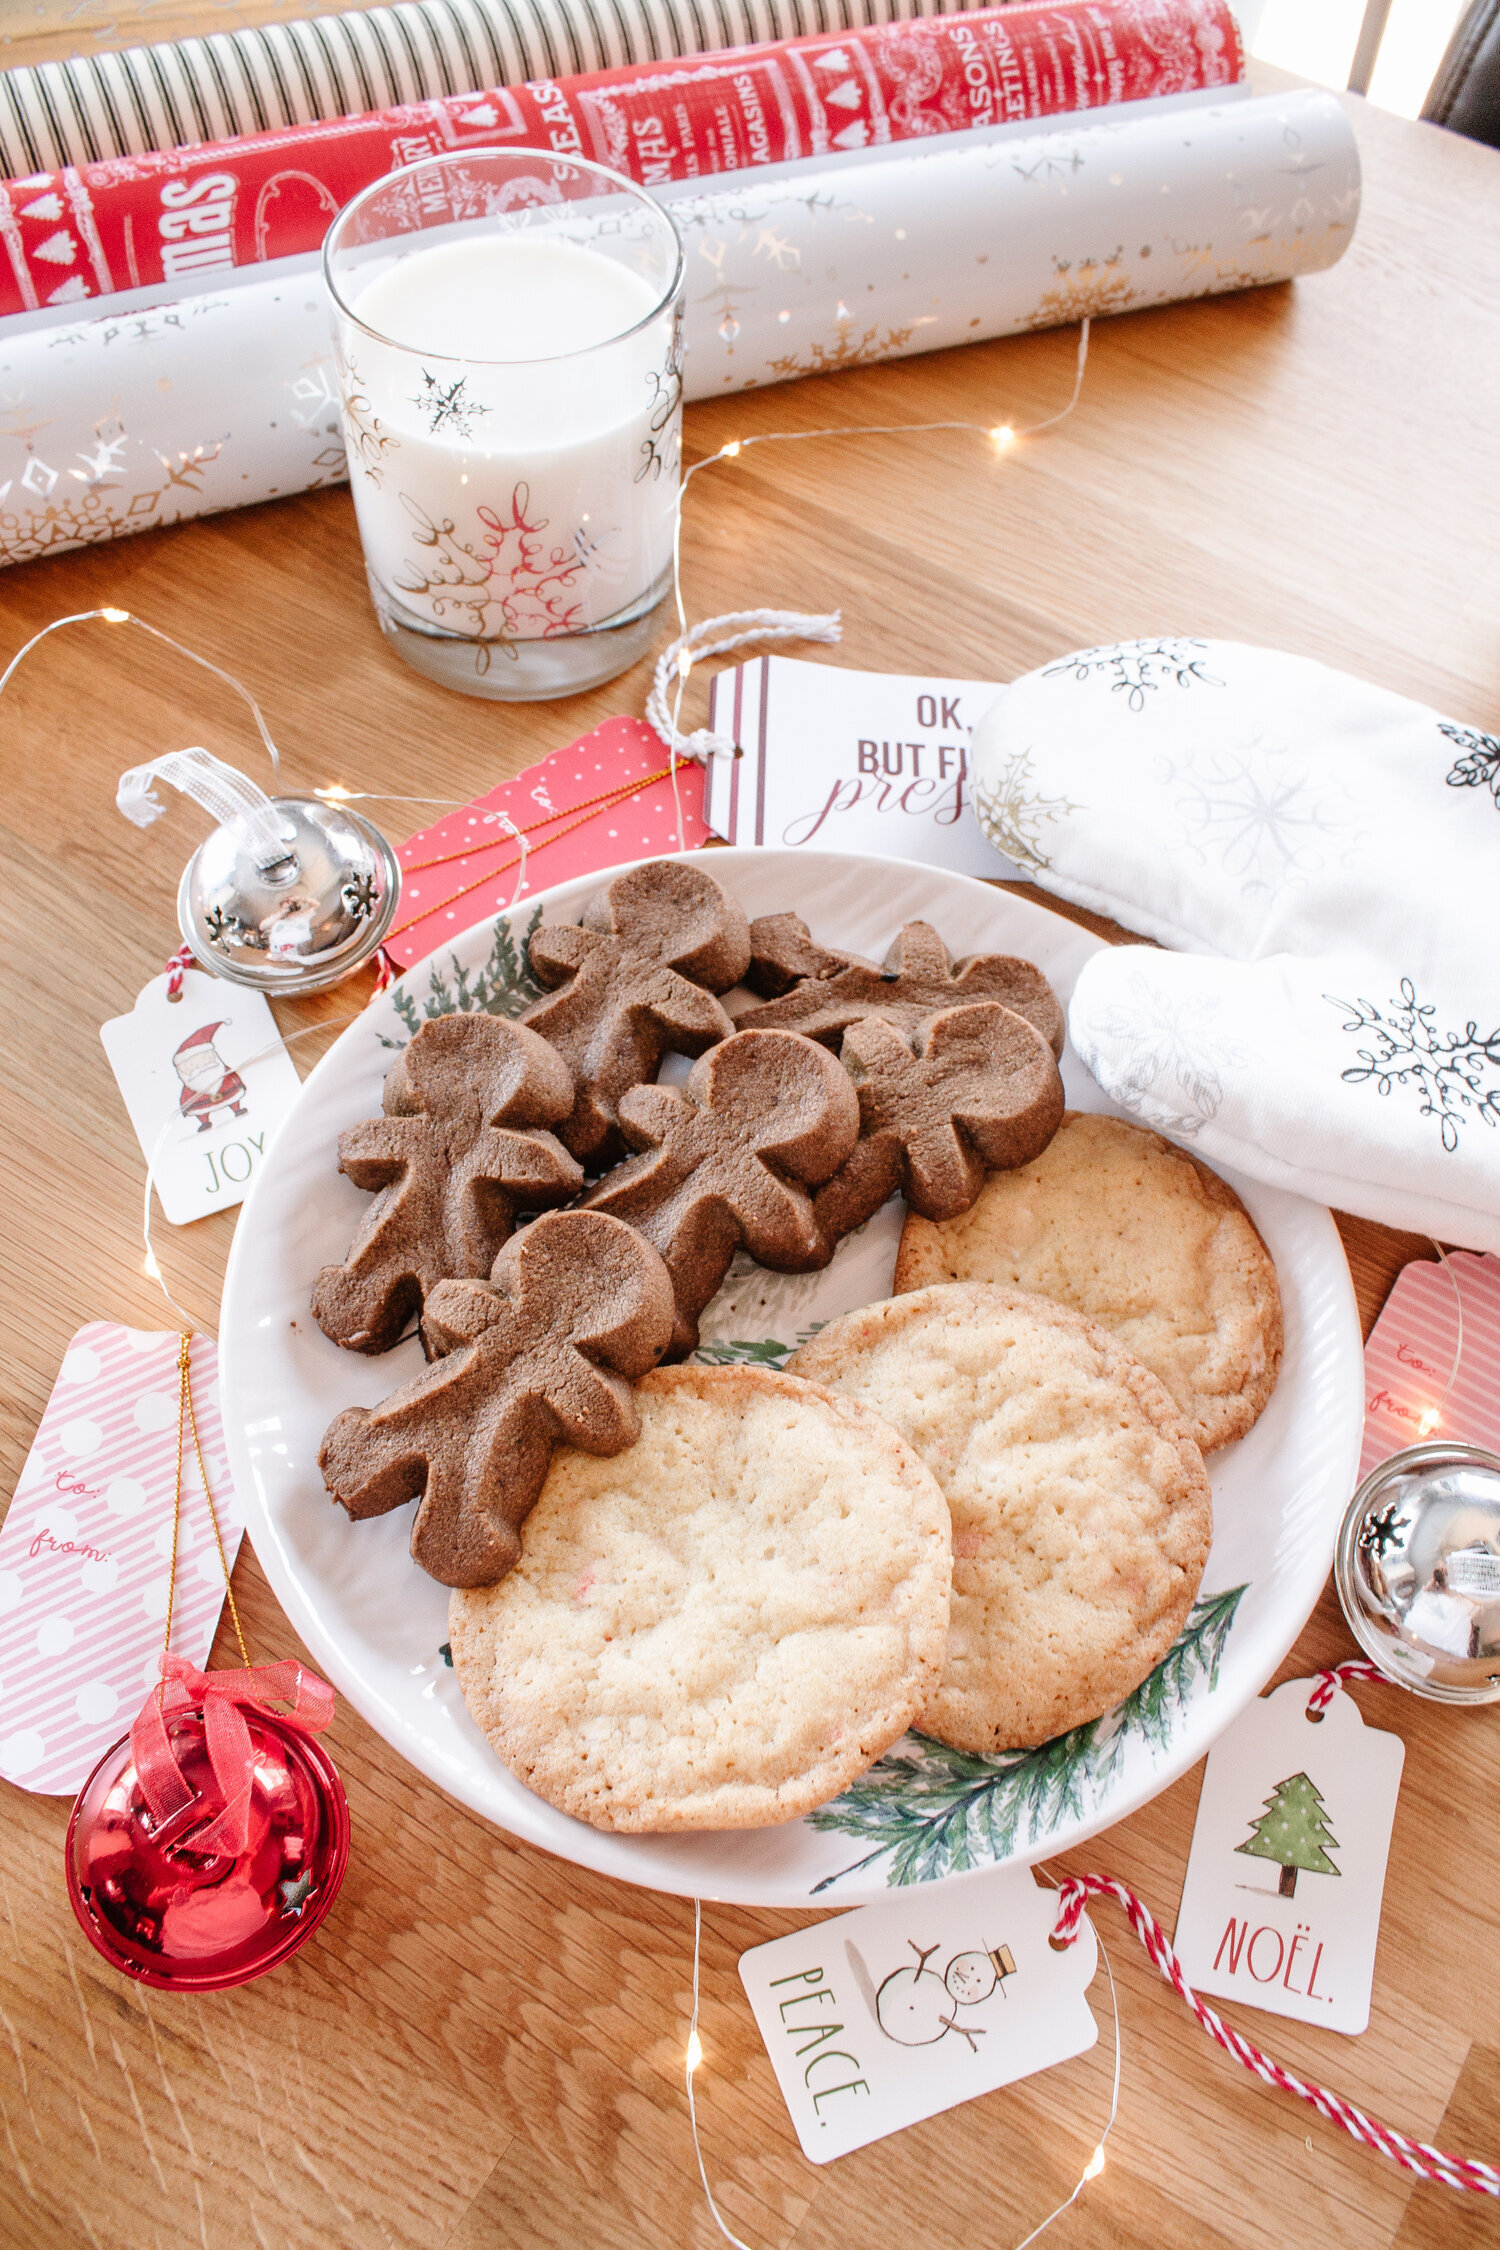
* Tip: A great place to find nice wrapping paper that is also affordable is HomeSense. If you’re like me, and you like when everything looks good together too, you can often find wrapping paper with very complimentary colours & patterns. For example, I always purchase four or five different wrapping papers that all have a similar colour palette or theme. This year, I purchased red with classic fonts & Christmas sayings (pictured below), white with silver snowflakes, gold with white Merry Christmas’ all over it, and white with green trees all over it.

The simplest way of adding some decoration to your presents is by wrapping the gift with some ribbon. As a general rule to follow, you don’t want to mix two busy patterns together, so I often will choose a simple patterned wrapping paper, and pair it with a busy pattern ribbon (ex. snowflake-patterned wrapping paper with snowmen-patterned ribbon), or the opposite - busy wrapping paper with simple ribbon (ex. plaid wrapping paper with burlap ribbon). I’d recommend that once you tie your ribbon around your gift, tie one knot, then slide the loop of your gift tag onto one of the strands of the ribbon, and then tie a second knot before you finish off your bow. If you’re looking to put a nice big bow on the top of your present, I’d recommend following this tutorial.
* Tip: Choose wired ribbon instead of simple fabric ribbon for larger gifts. The wire allows you to mold the ribbon, however, just make sure you pull some of the wire at the ends out and cut them so no one gets poked. Trust me, it hurts. If you have a smaller gift, choose the fabric ribbon, cuts the ends off after double knotting & finish it off with a stick on bow, or a smaller bow made of thinner wired ribbon.
Jingle Bells & Ornaments
Depending on the size of the gift you are wrapping, you don’t always have room for the thicker wired ribbon, and you have to tie up your gift with some fabric ribbon. If that’s the case, you can always add some jingle bells to that ribbon! You can pick these up at the dollar store, or anywhere you can find Christmas decorations, but it’s a really simple and festive way to add a little excitement to your gifts, especially for kids. I promise they’ll be pretty excited when they hear the bells jingling. All you have to do to add the bells to your gift is slide the ribbon through the bell, and tie a knot. If you’re using plastic ribbon, I’d suggest doing ribbon curls using a pair of scissors (carefully!), and to make them fuller, cut more strands of the ribbon, either in the same colour or other colours that match, tie it around your other ribbon, and do more ribbon curls.
* Tip: You can even add the bells to a larger gift if you’d like to. Just use some simple, thin ribbon, and follow the same instructions as above. Just make sure to attach the bells to the thicker ribbon on the first knot, and then tie a second knot over it to keep them secure.


Lastly, another great way of decorating your gifts is by adding an ornament! This is probably one of my favourite things to do for my more simple gifts, like gift cards or a box of chocolates & a bottle of wine. Adding an ornament to your gift gives a really thoughtful touch, and it’s almost like an additional small gift that’s added to your main gift. This is a great opportunity to add some personality to the gift as well. For example, I added an Adirondack chair ornament to my boyfriends grandparents Christmas present last year, since they enjoy spending time up at their cottage during the summer. It added a little decoration to their gift, and was something they could add to their tree afterwards. When attaching the ornament to your gift, treat it just like with adding the bells - tie the first knot of your ribbon, and then put the ribbon through the ornaments loop, and finish with a second knot to secure it.
* Tip: Don’t use heavy ceramic or expensive ornaments on your gifts. Presents get moved around a lot, and other things get piled on top of them, so you don’t want anything super expensive to get crushed. If you’re not sure where to go, my favourite place, if you’re in Canada, to get inexpensive but cute ornaments is Canadian Tire.
Don’t Forget to Give Back
And of course, with the holiday season approaching, it’s hard to forget that there are countless families in every community who can’t afford to buy their children gifts or have a Christmas dinner. If your budget allows for it, I highly encourage looking into how you can give back to your community this season, whether that’s donating to a children’s gift fund, a food cupboard, volunteering at a homeless shelter, sponsoring a family or anything in between. It’s the time of the year to think about others and give back ♥︎
Well there you have it! My favourite ways to spruce up your gift wrapping game. The great thing about all of these is that you can do all three of them on one gift, and it looks super beautiful, or you can just do the ribbon and bells, or the ribbon and the ornament. I’d definitely recommend at least doing some ribbon on your gifts, just to add a little something. Let me know in the comments if any of you tried any of these tips. Until next time!

